The Croissant Chronicles
Dec 23, 2020
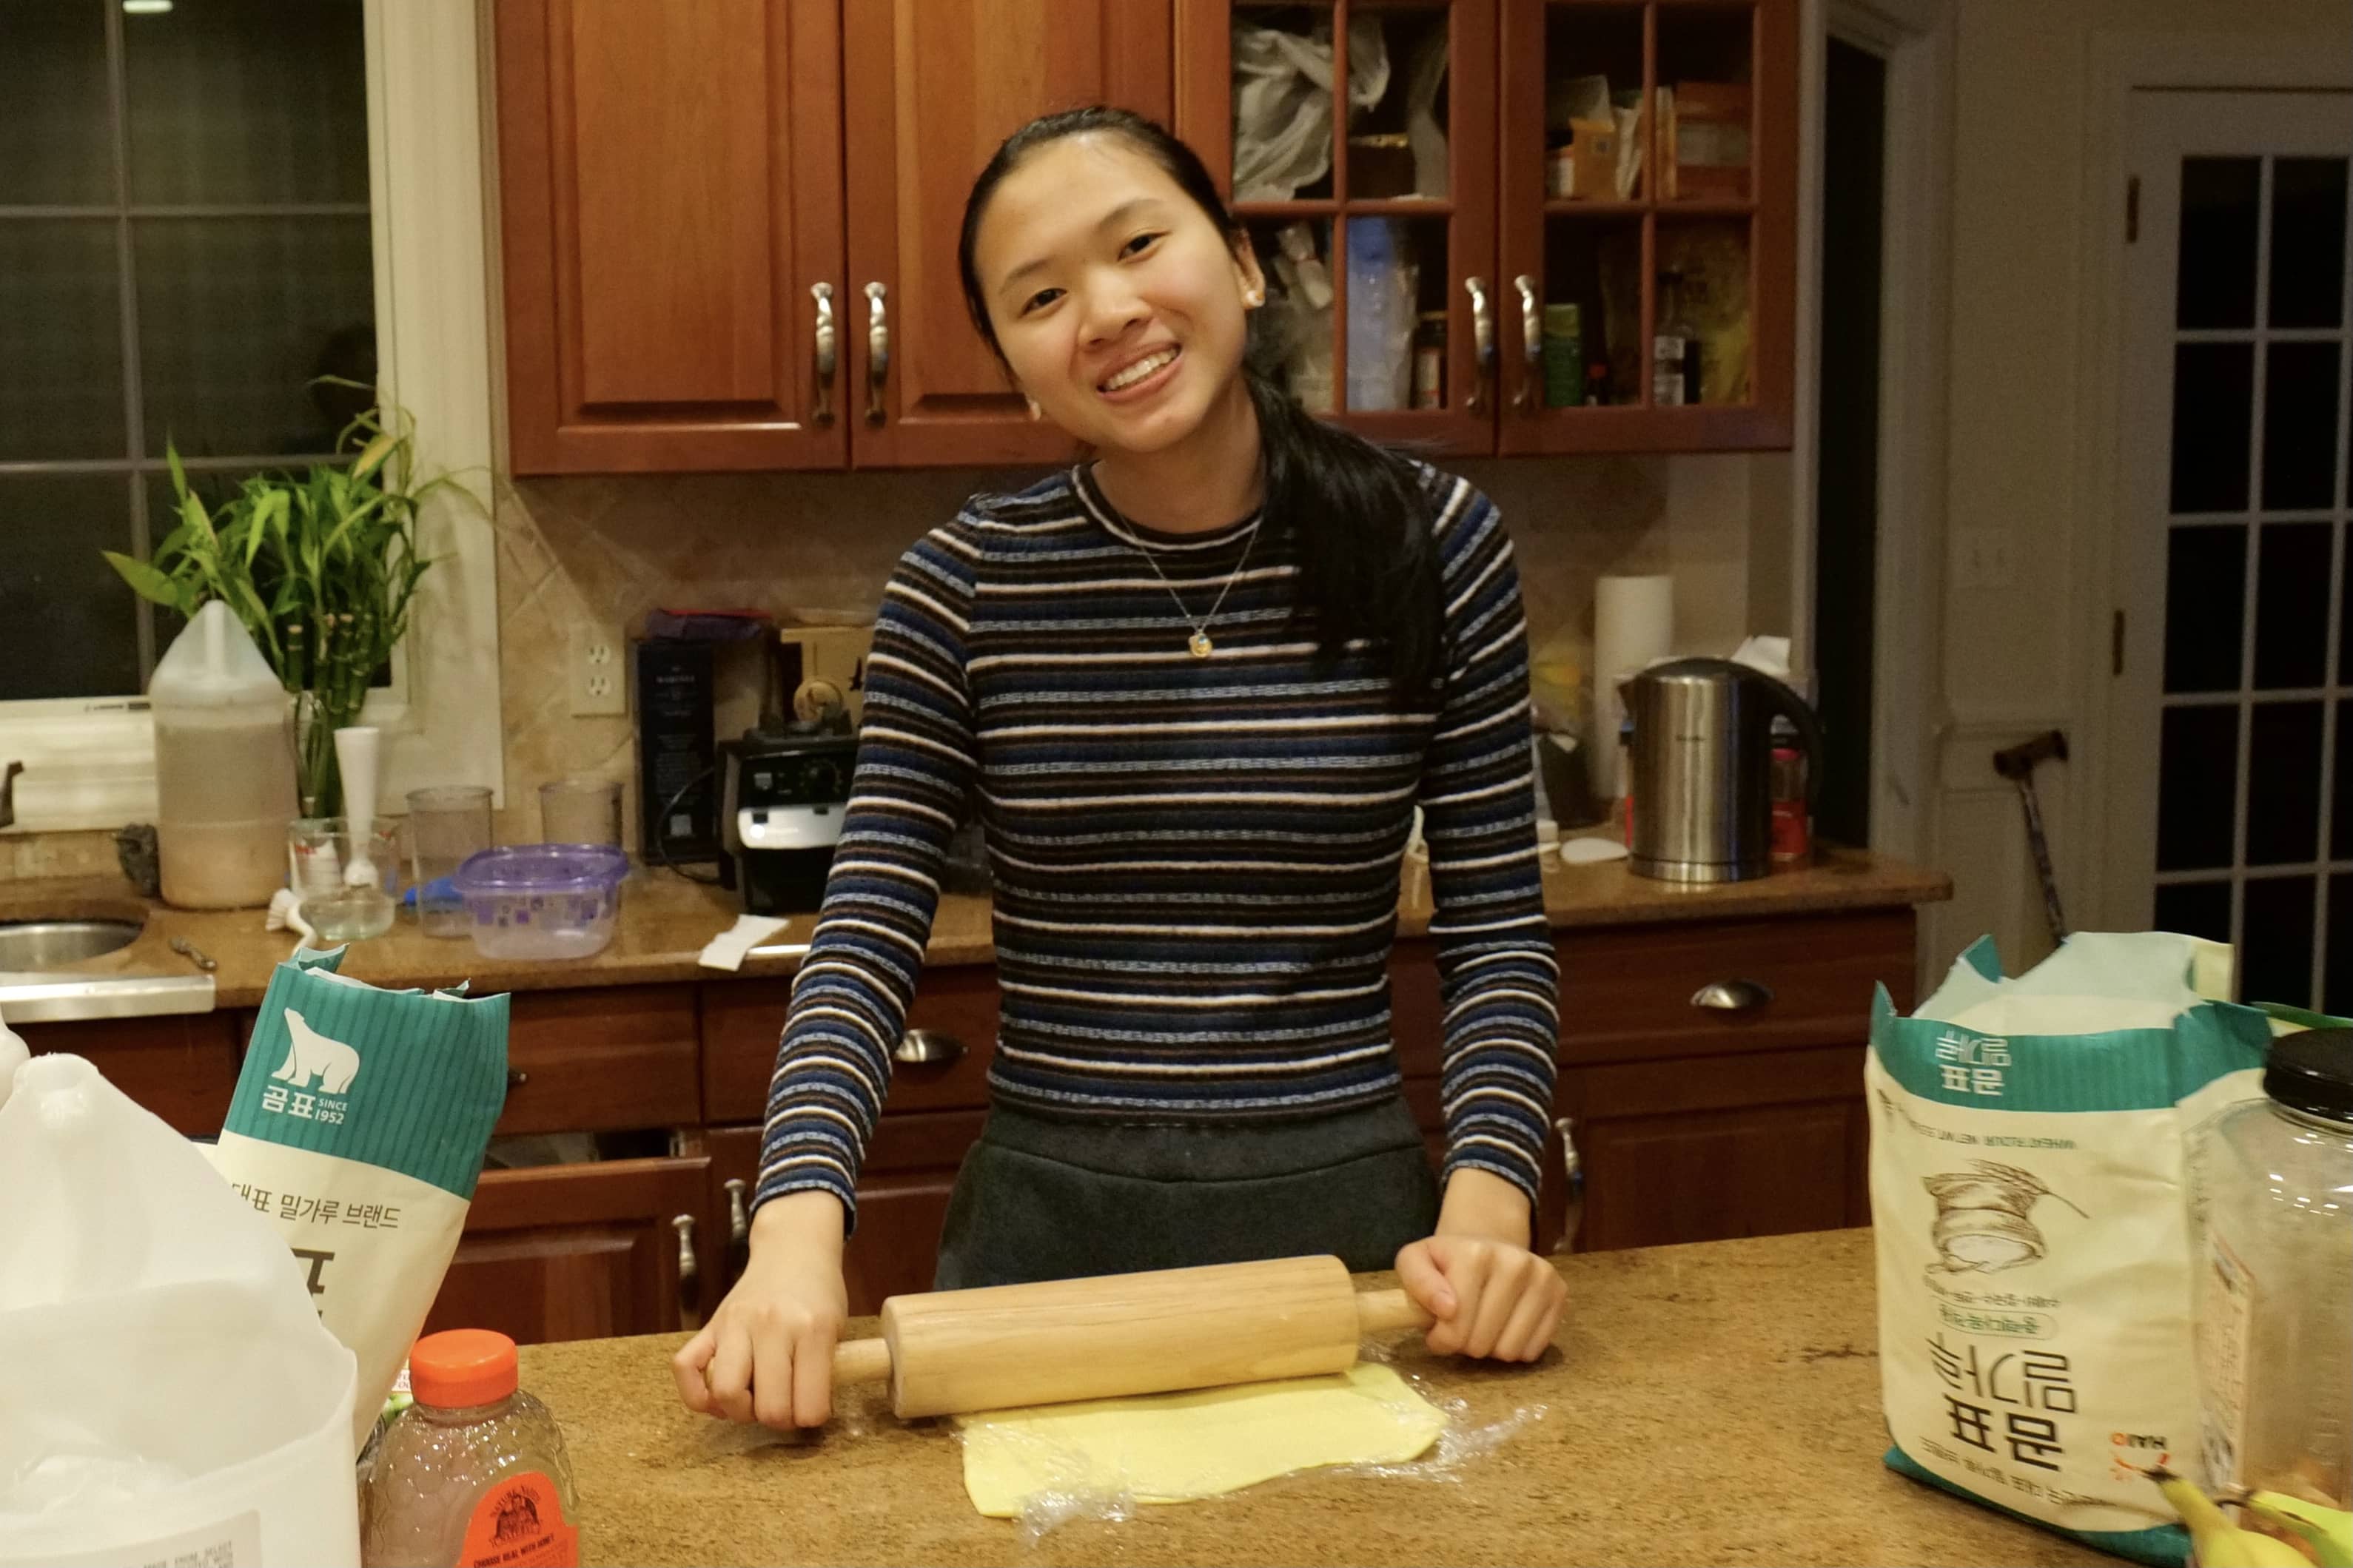
I made croissants from scratch for the first time! Ever since my sister, Antonia, a croissant connoisseur (just kidding, she’s only made croissants twice before), told me she made croissants from scratch, I’ve been itching to try making them too. It’s month eight of being totally at home, so we finally decided to tackle this challenge! Many hours later, they were far from perfect, but still the perfect homemade baked good to keep us company. This collaboration is with my big sister, Antonia, an aspiring vlogger.
Recipe adapted from Jo Cooks - great recipe!
Croissants From Scratch
Yields 8 medium croissants, but you can make ~16 smaller ones instead
Ingredients
- ¾ cup lukewarm milk
- ⅛ cup packed brown sugar
- 1½ tsp active dry yeast
- 3½ cups all-purpose flour (may need as little as 3¼ or as much as 4 cups)
- ¾ cup salted butter, if using unsalted butter, add ½ tbsp salt
- ½ egg for egg wash
Directions
- Lightly stir lukewarm milk, brown sugar, and yeast with a fork in your mixing bowl. Let sit for 5 minutes, until foamy.
- Add flour (and salt, if using unsalted butter) to the bowl 1 cup at a time, and mix until soft, elastic, but still a little bit sticky.
- Start off with a sturdy spatula, then move on to kneading with your hands.
- Loosely wrap the dough in plastic wrap and place the dough in a bowl. Refrigerate for one hour.
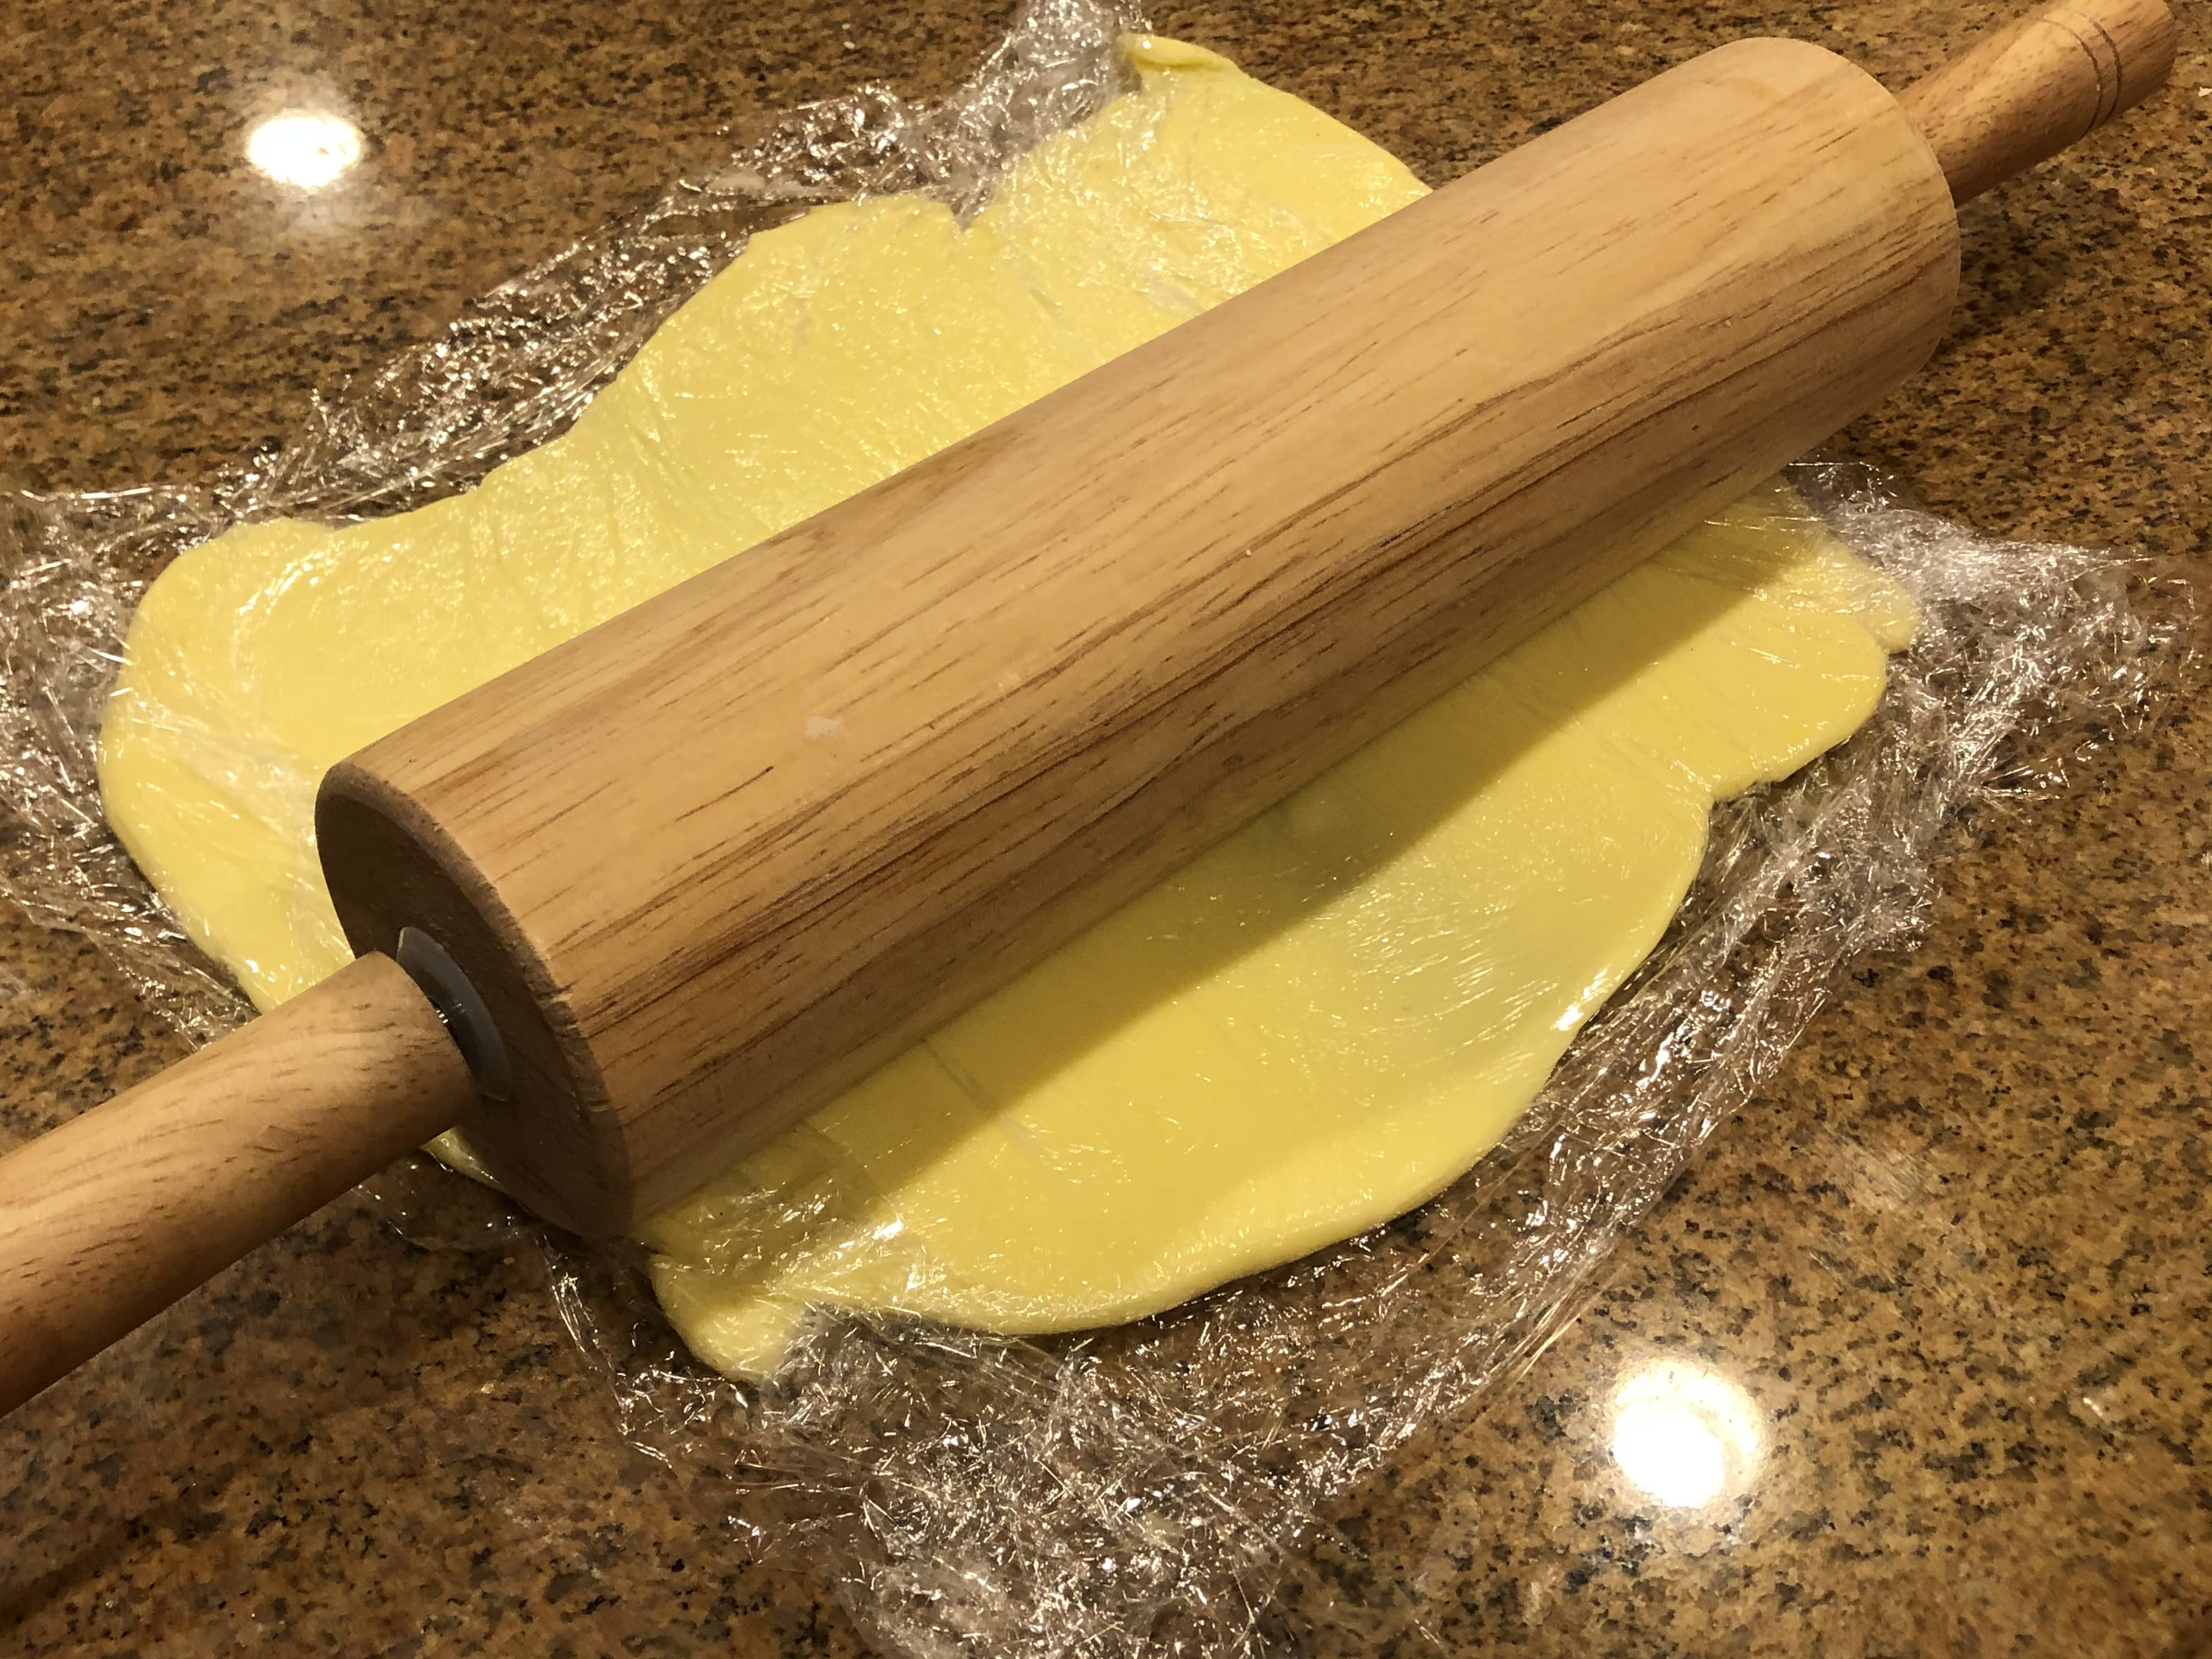
- Make. The. Butter. Layer. Y’all, this is the moment I was looking forward to the most, because of how fun recipe videos made it look. It was fun. Cut the butter into evenly sized (especially the thickness; the other dimensions are less important). Arrange the layers into a rectangular formation onto a sheet of plastic wrap (what we did) or parchment paper (what we would recommend). Place another equally-sized sheet on top of the butter rectangle.
- Parchment paper is a lot less clingy than plastic wrap, which is why we recommend it.
- The sheet of plastic/parchment should be considerably larger than the rectangle of butter. I recommend skipping to 1:42 to see how large our rectangle of wrap was.
- Use a rolling pin to roll out on all sides of the butter rectangle. Be very careful when rolling this butter rectangle out. The rectangle shouldn’t be over rolled on any one side, as this would distort the rectangular formation. I recommend alternating the orientation of the rolling pin from vertical to horizontal several times through this process. See 2:04 to get an idea of what we did for ours.
- We had a pretty imperfect rectangle, so I wouldn’t be discouraged if yours comes out a bit wonky looking. However, don’t veer too far off the intended rectangle, and definitely try your best to attain that shape!
- Refrigerate the dough until use. This is important. You do not want this butter to be melty in the slightest, as the kitchen itself already has heat. This heat will soften your butter with time, but this butter sheet needs to be very firm!
- Flour your work surface, whether that be directly on your countertop or on a large tray (like ours), and roll out the dough into a rectangle that’s about 5 millimeters thick. The other dimensions are a little bit more up to you, because a bunch of different recipes give different sizes. Just make sure that the height of the dough rectangle is about equal to the width of the butter sheet.
- To clarify, the width is the longest side (in reference to either the individual butter or dough sheet). The height is the shorter dimension.
- Place your butter sheet in the center of the dough rectangle. This butter sheet should be ⅓ of the dough - you can think of the dough not currently in contact with the butter as flaps! These flaps should be just slightly larger than the butter sheet rectangle.
- Fold these two flaps over the butter sheet one after another, similar to how a letter is folded. Now, move your rolling pin vertically (the “height” or shorter side of the dough should be closest to you) to form another rectangle that is similar sized to the dimensions of the original dough rectangle.
- Fold the dough rectangle like a letter again (thirds!) Place it on a tray, and wrap the tray in plastic wrap. Refrigerate for one hour.
- This step needs to be repeated 3 times, meaning four times in addition to the previous step! Move your rolling pin vertically (the “height” or shorter side of the dough should be closest to you) to form another rectangle that is similar sized to the dimensions of the original dough rectangle. Fold the dough rectangle like a letter (in thirds). Place it on a tray, and wrap the tray in plastic wrap. Refrigerate for one hour, with the exception of the fourth time. Refrigerate (at least) overnight only for the fourth (final) time.
- Split the dough in half - freeze one half if you plan on using it another time. Roll the dough halves into long, ¼ inch thick rectangles. Cut each rectangle into triangles (more like an isosceles). They really can be any length you want, but you can probably cut 4-12 from each half.
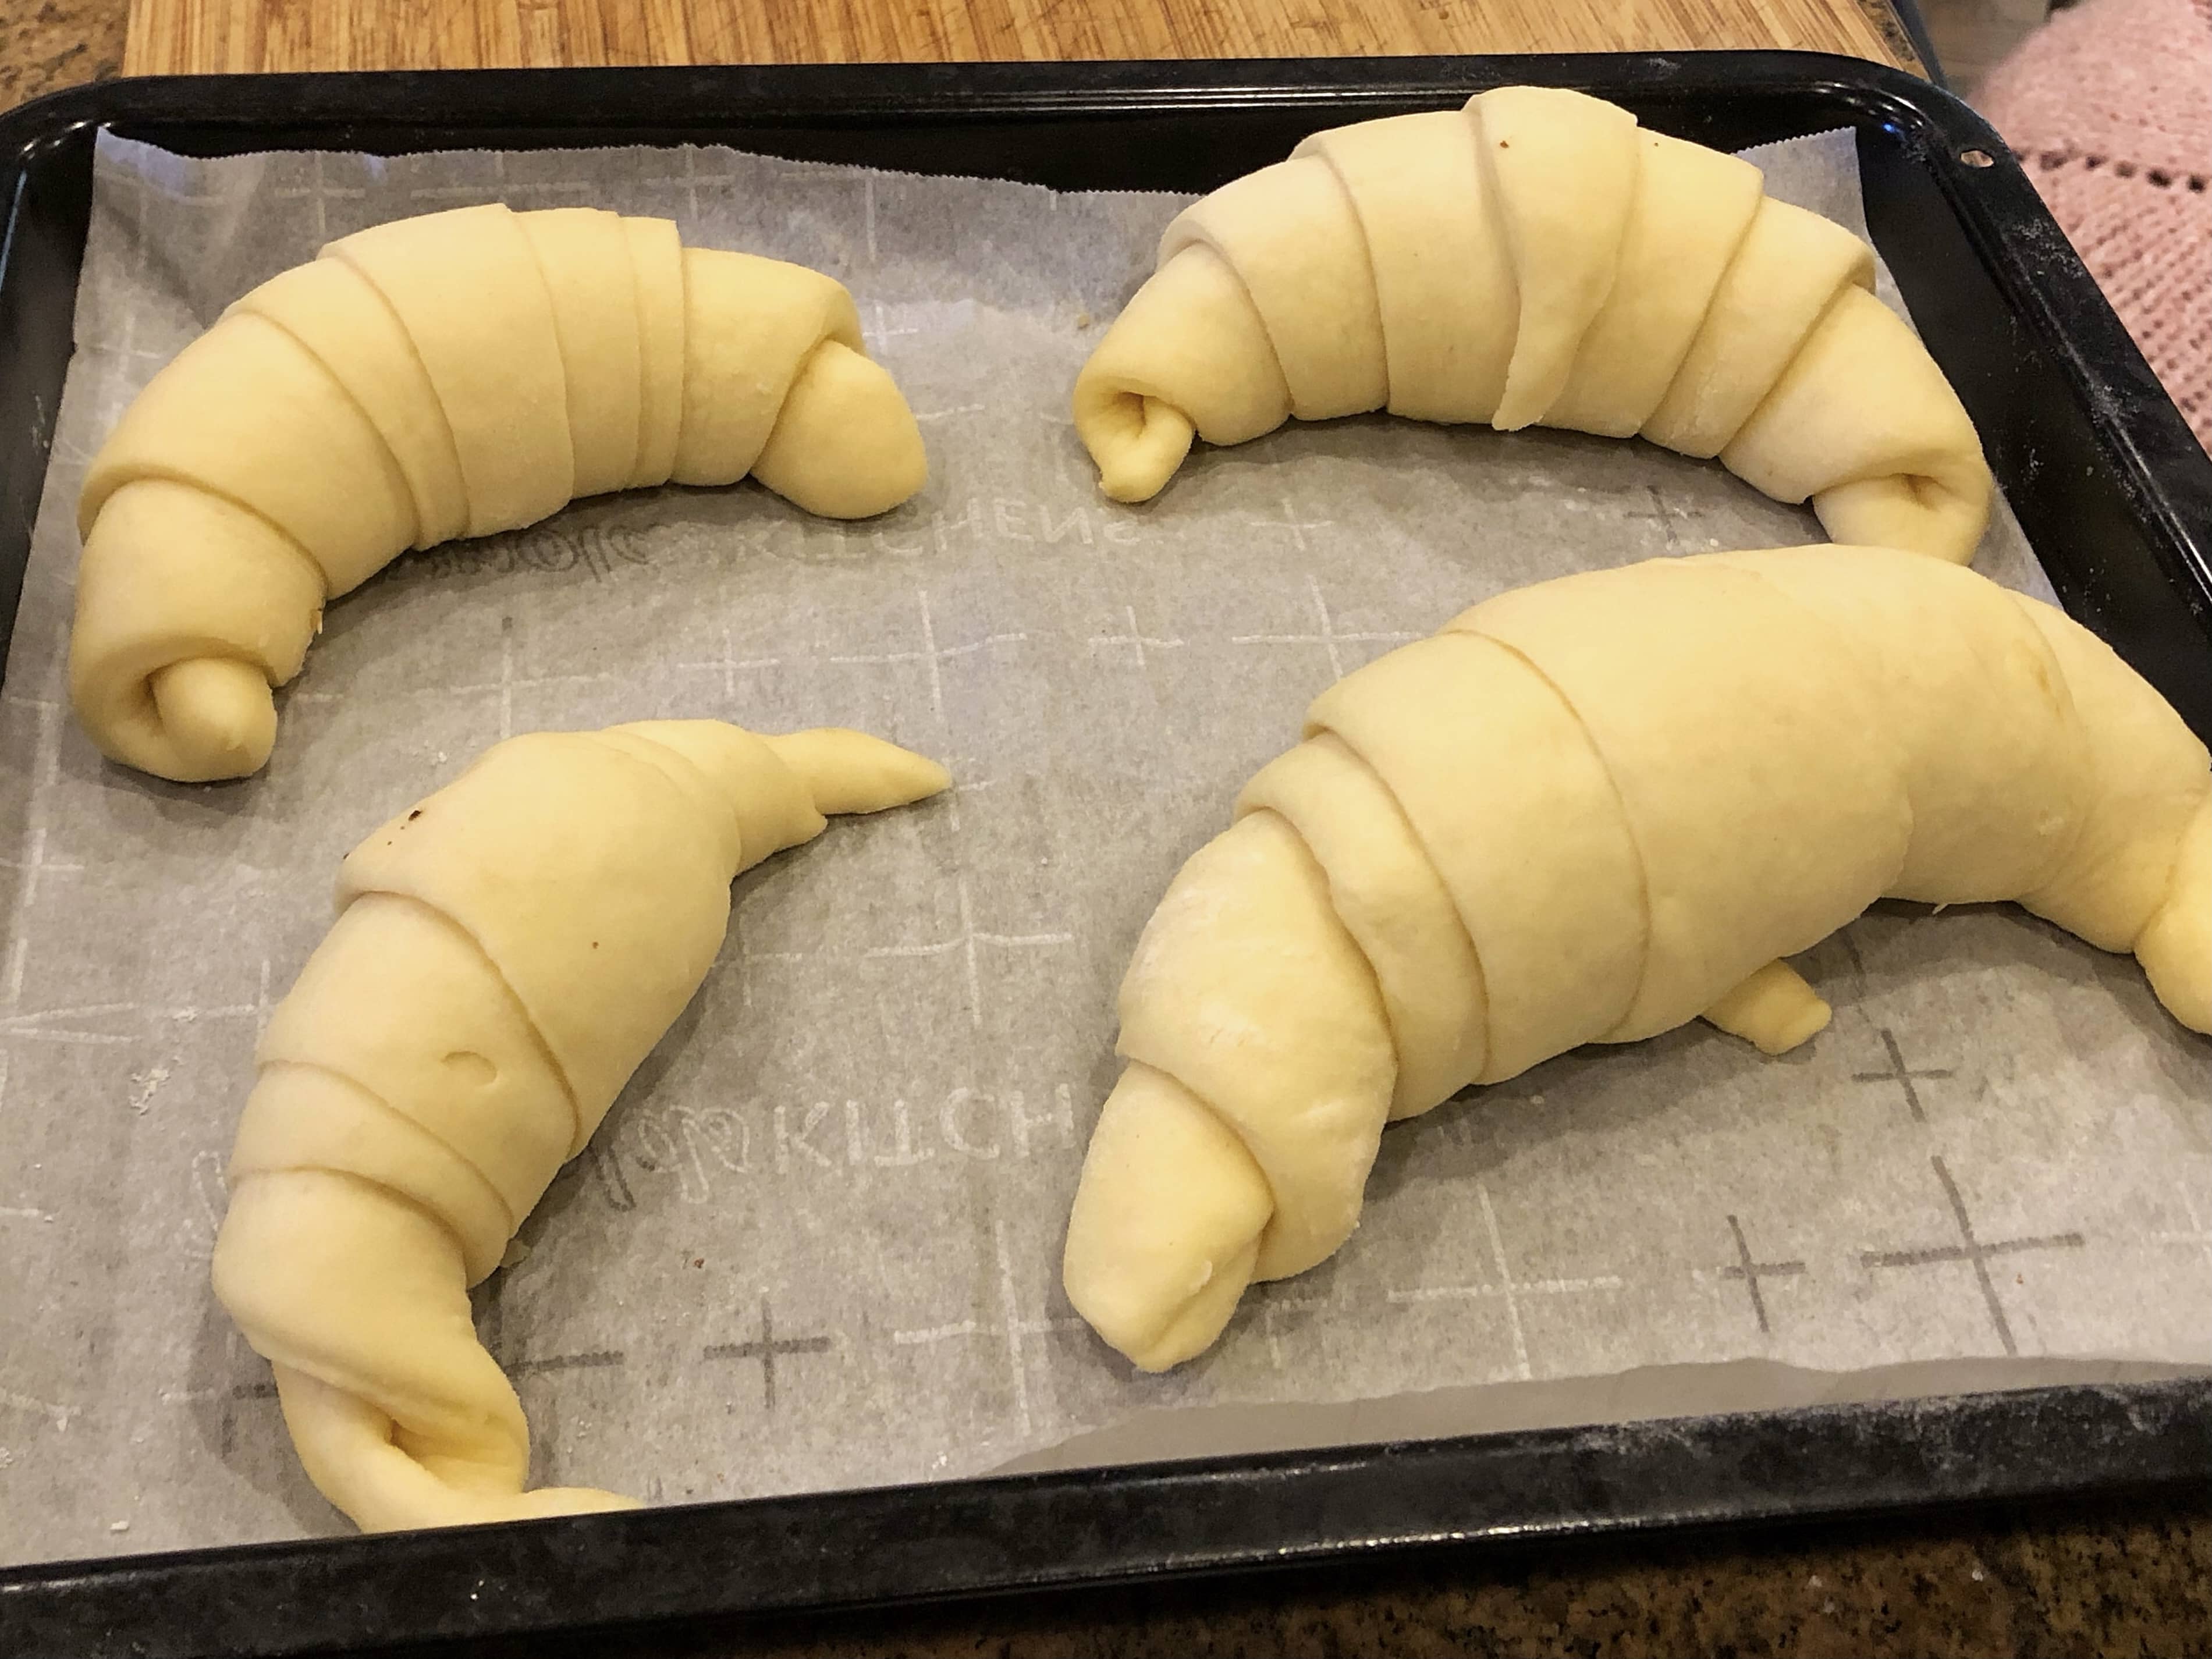
- Use a rolling pin to “flatten” each triangle from the wide side up. Stretch out the skinny side and begin rolling your triangle as tightly as possible!
- Place each triangle 1 to 2 inches apart on a baking sheet lined with parchment paper.
- Let the croissants rise a bit for one more hour - you’re almost there! Brush them with egg wash.
- You can also roll them ahead of time, then refrigerate for up to 18 hours prior to baking. Wrap the baking with plastic wrap, not tightly or loosely, but just tight enough so as little moisture as possible escapes.
- Preheat the oven to 400°F. Get those croissants in the oven and bake for 8 to 12 minutes at 400°F, then turn down the heat to 375°F and bake them for another 8 to 12 minutes. They should be golden brown!
- Enjoy with whatever spreads, jams, sauces, and anything you like! We tried them with several fruit jams (blueberry, fig, strawberry, and more).
Yes, this is a loooonnnnngggggg process, but I can confidently say the end result is worth it. My sister made them without me one additional time after the filming of this video, and I enjoyed them so much. They are FAR from perfect, but are still an unbelievably good treat. Warning: they ARE buttery, but equally flaky. Now, start the recipe and devour these little pockets of goodness!
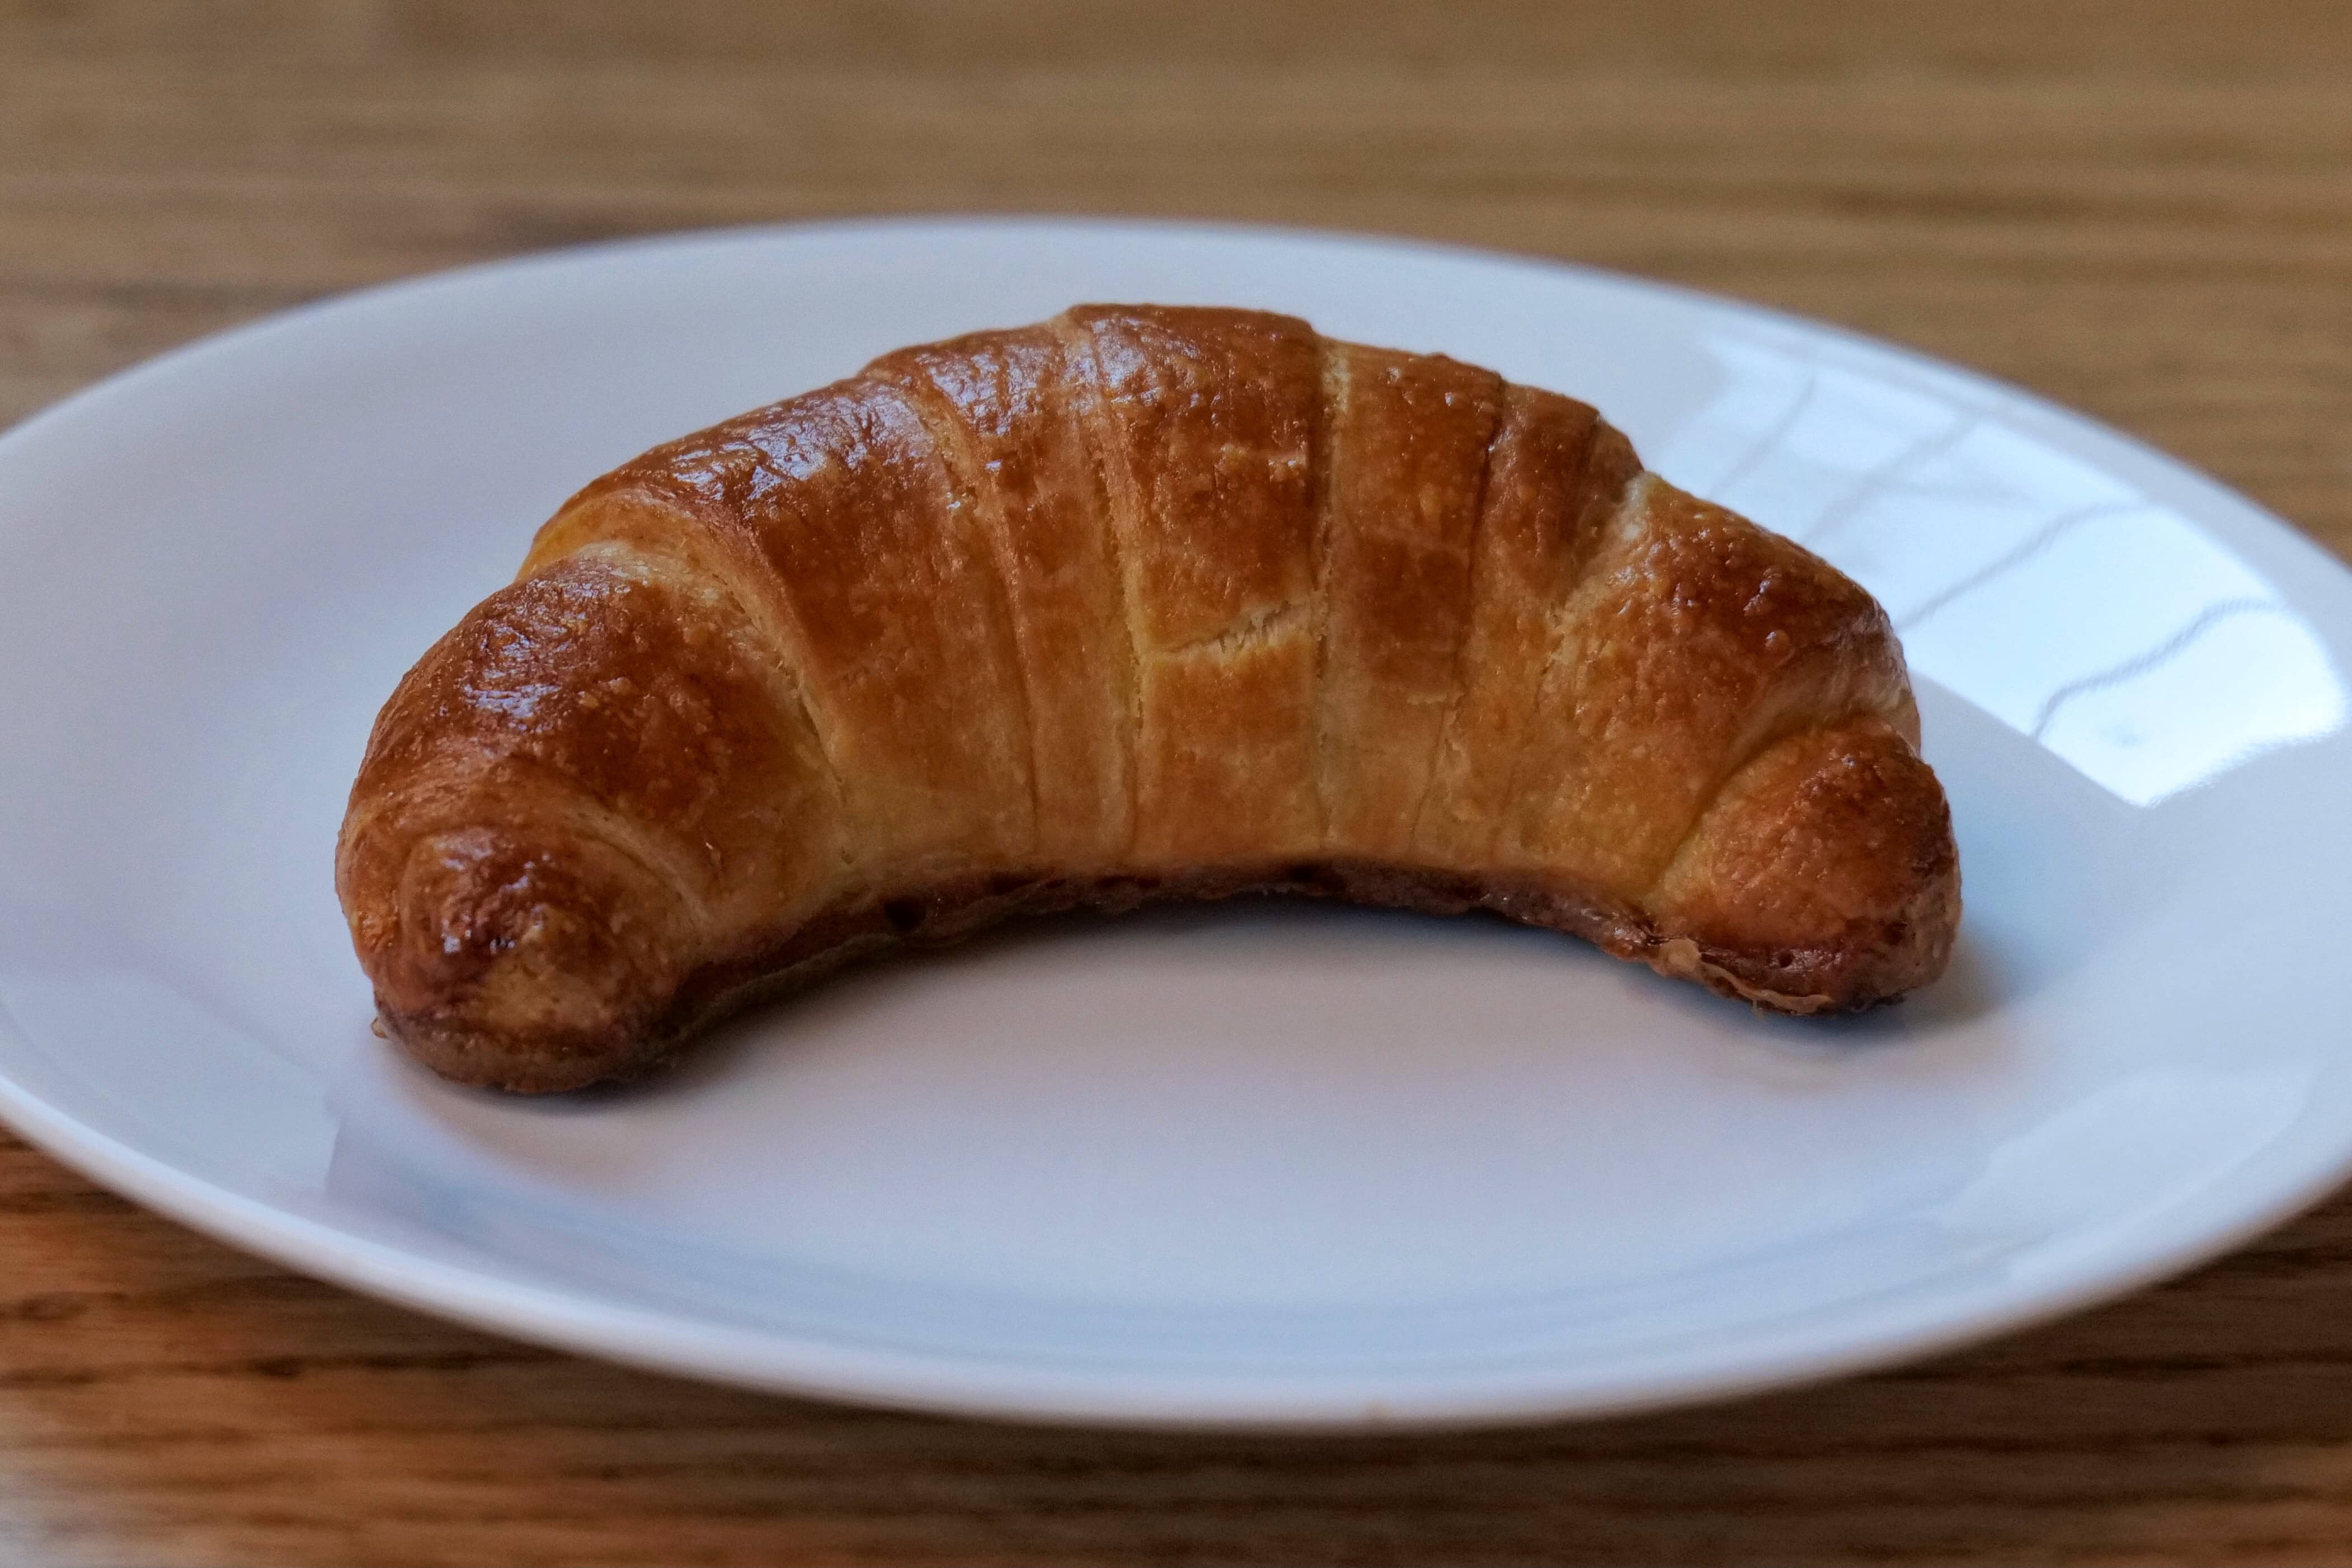
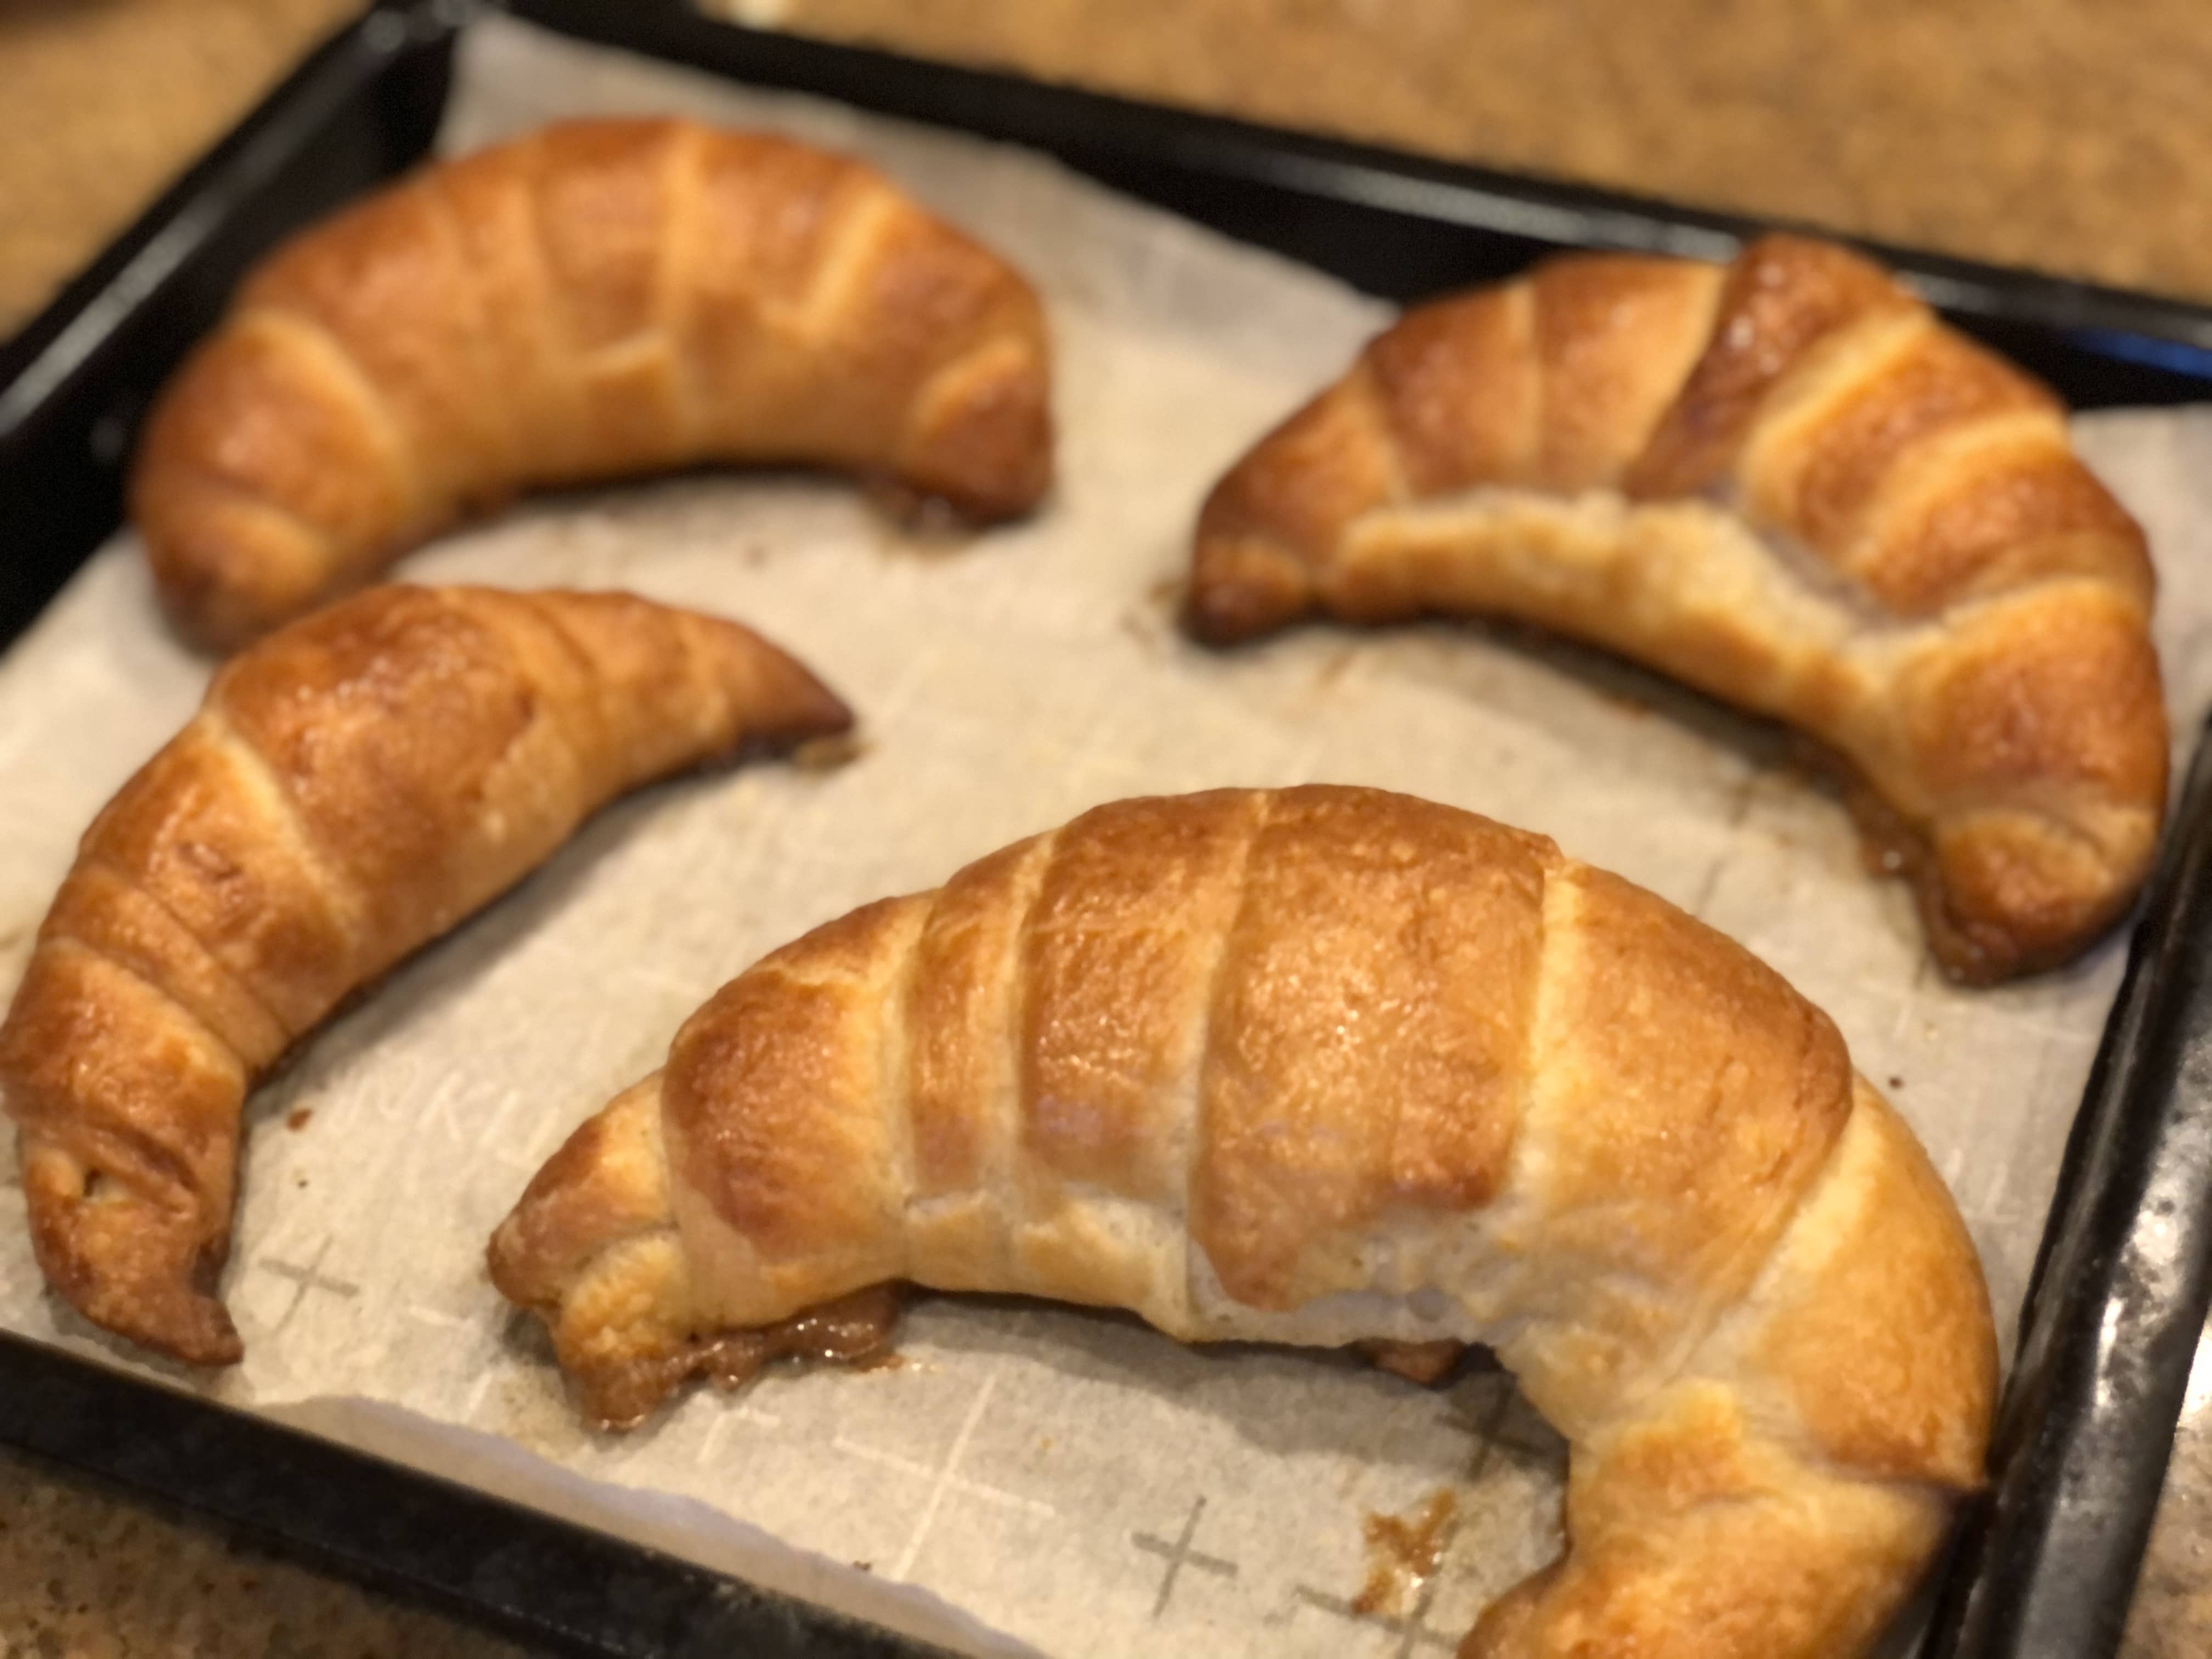
FINAL RESULTS!🤩
They look like they have such a solid bottom, because we over egg-washed - no worries if this happens to you, as they’re still awesome.
See you soon,
Carissa 😊
If you have any questions, comments, or recommendations, please message @CarissaEats on Instagram or email carissaeats@yahoo.com!


